The chairs are now black, not red

The chairs are now black, not red

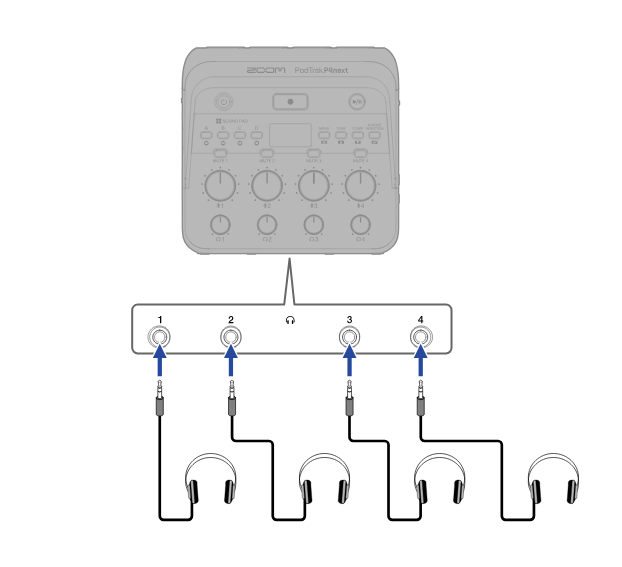
Typical 4 person podcasting set up using the studio lights. which can be useful if you are doing a "video" podcast

In addition to the studio camera, you can use the light stand with mobile holder to get multiple angles, or just capture clips for social media